Decorating Tips For Christmas with Frank Newbold
17th Nov 2023
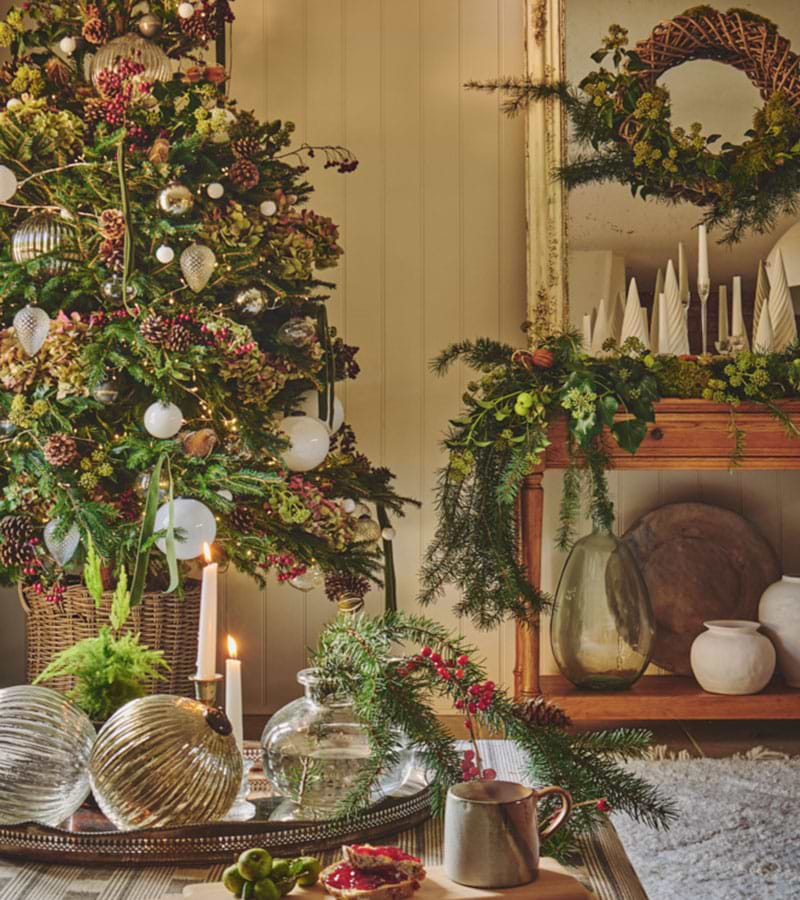
As the season approaches, one thing’s for sure: the defining element of every home’s festive décor is the tree. If you’re still undecided on how you’ll be dressing yours, join us in taking a closer look at one of the decorative themes featured in our Christmas Shop. Our Woodland Spirit range heroes a Nordic-inspired look that’s warm and dreamy. How better to experience it then, than seeing in situ? Thanks to interior designer Frank Newbold, we did just that. This week, we sat down with the founder of Hestia & Hearth for a chat about how to dress your home to evoke joyful ambience…
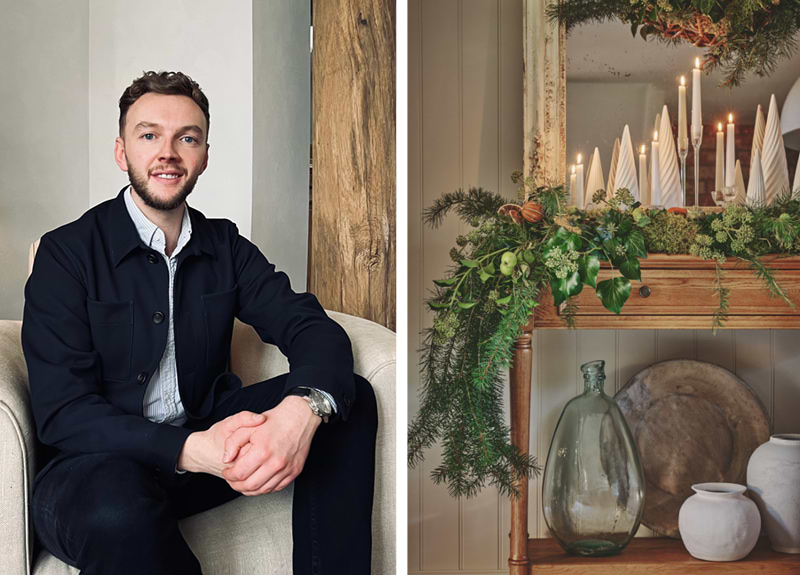
After a tour of your cottage, we’re certainly feeling festive now, Frank! What are your favourite pieces from our Christmas Shop and how have you styled them?
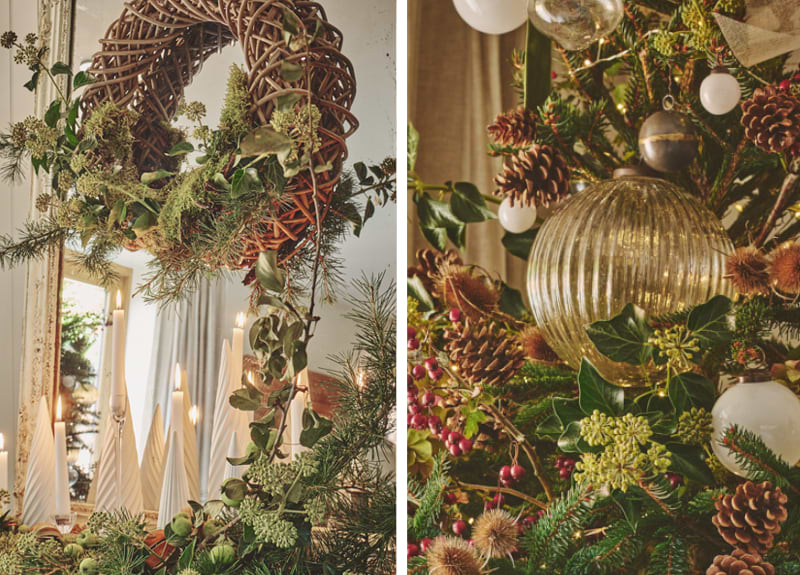
Your Door Wreaths were immediately the pieces I was drawn to. They present so many options, both in terms of how you can decorate with them and also in the way they can physically be presented. They don’t simply need to be hung vertically as you’d expect either; they also work elevated over a dining table. This year I’ve gone for the half wreath look, leaving one half of the beautiful rattan exposed so it can do the talking. With different sizes available, there’s so much flex to get creative – and a wealth of choice when it comes to decorating them! The best thing about these pieces is their sustainability; you can buy a wreath today and still be using it for decades to come – and in completely different ways; its scope is endless!
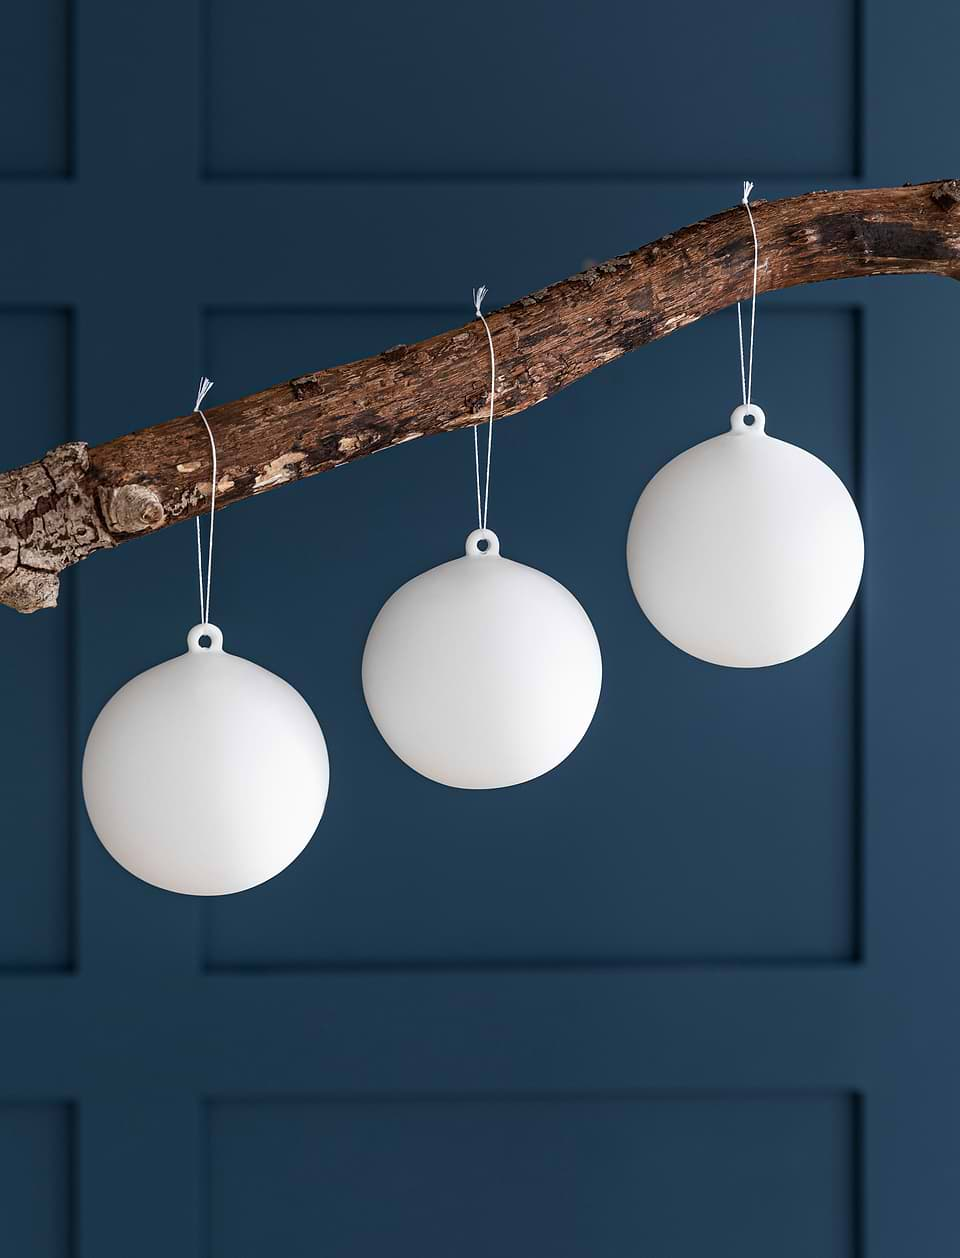
My other favourites are the Murrine Baubles – the scale of them is just magic and makes them really showstopping pieces that can be used in displays all over the house – whether ‘rolling on their own’ displayed on a tray or featuring them on your Christmas tree. They are just brilliant! My top tip when it comes to using them on your tree is to make them the second thing you’ll place after you’ve arranged your lights. The trick is in wiring them – and you do it by firstly tying a bauble to a branch and then hooking it to the tree’s trunk so that its weight is evenly placed and the branches don’t wilt as the weeks roll by. That way they’re in perfect prime position throughout the festive season and also really well secured – which of course is completely vital if you’re featuring glass items.
When it comes to festive decorating, where do your inspirations lie?
My obsession has always been glass, glass and more glass when it comes to festive looks! It began right back when I was aged just 7 and first got involved in decorating for Christmas - on an industrial scale(!) – at my Auntie Loretta’s cavernous Victorian home in Birmingham. My aunt’s always been obsessed with Christmas and prior to retirement worked at the same company for 50 years. Luckily, they didn’t seem to notice that she would annually call in sick on the first Friday of every December! The reason? She needed to transport no less than 30 crates of Christmas decorations down from the loft, which would be met by an excitable yours truly! Together, every year – we would work from the Friday night and all-day Saturday to decorate her beautiful home from top to bottom and transform it into the perfect abode for Christmas.
I have Loretta to thank for my early interest in interior design; she fostered it wonderfully from such a formative age and gave me carte blanche to take the look and feel of her home in any direction I wanted – which was such a gift! The good news (for her!) was that even from a young age I’ve favoured glass and as a child completely bypassed the plastic decorations that were a mainstay of the era which I grew up in! In fact, my aunt had this collection of gold oversized plastic bells and for the first few years of decorating together she would try and slot them into her Christmas design, by attaching them to door knockers or positioning them on her mantel pieces. I’d then follow her around, stealthily removing them! Aside from our differing taste on those items(!), I had lots to learn from Loretta and her home became the birthplace of my love of interior design. She also introduced me to the power of organza as a feature – which is still something I’m still a heavy user of today! Together we’d spend ages wrapping reams of ribbon around rolling pins and use them to decorate her Christmas tree. Since childhood, my love of festive decorating is always dedicated to achieving a look that’s classic, timeless and paying homage to an abundance of fresh foliage. That’s never changed and is just something that I’ve refined throughout the years.
What’s the process you go through when designing a festive mantel? Are there any particular benefits to choosing certain pieces that you’d like to share?
First things first; take a look at the length of your mantelpiece or console table top to work out the scale. I always go with creating a garland that is twice the width of its intended home. You need to think either side of it, so - in terms of layout – say your mantel is a metre in length, I’d look to be producing a design that covers that one metre across and then features an additional 50cm hanging down either side of it. One important thing to say; I’m not a fan of symmetry, but I LOVE balance – so the two sides of your garland need to work as sisters – not twins! In terms of how I’d design it - I’m a big believer in using what’s around you. If you’ve got a holly bush or eucalyptus in your garden – cut some sprigs and use them! When it comes to piecing it all together, my rule is always heaviest foliage first, which usually means offcuts of spruce or fir. I actually wire them to the wall; it’s a few holes that you can easily fill or cover post-Christmas and you’re safe in the knowledge that everything will sit securely for the duration.
Once your heaviest pieces are in situ, you can introduce the next step – medium foliage. For this – we’re usually talking sprigs of holly which you’ll drape over your evergreen base. Next up is foraged moss – again I’m a big believer in popping out into the garden and using your finds as layer three, slotting them into natural gaps in the design.
It’s then over to little decorative features – I pack in fresh crab apples and also dip into my box of dried oranges – either whole or sliced, limes and pine cones. These are always grouped in 3s or 5s, which I nestle into the foliage.
My final addition to a garland display is Asparagus Fern, which is a fabulous topper for filling holes and building texture. Its natural squiggles also make displays look much more natural and organic in design.
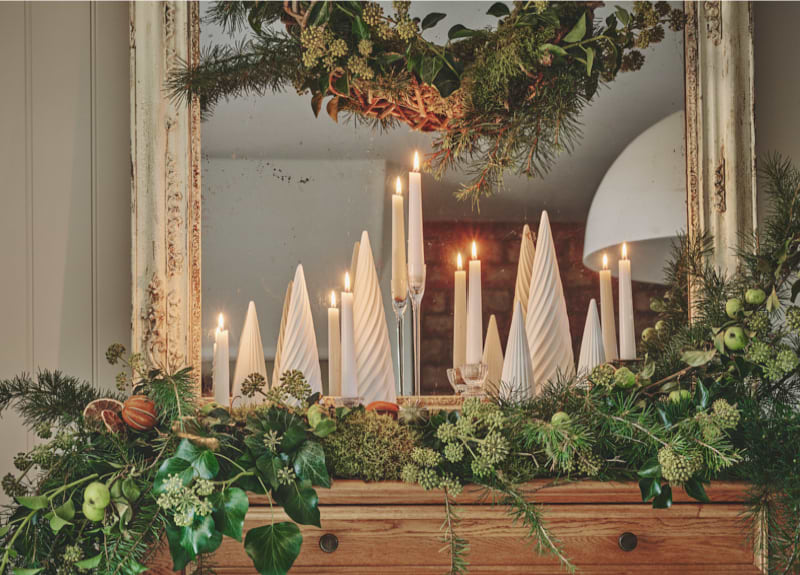
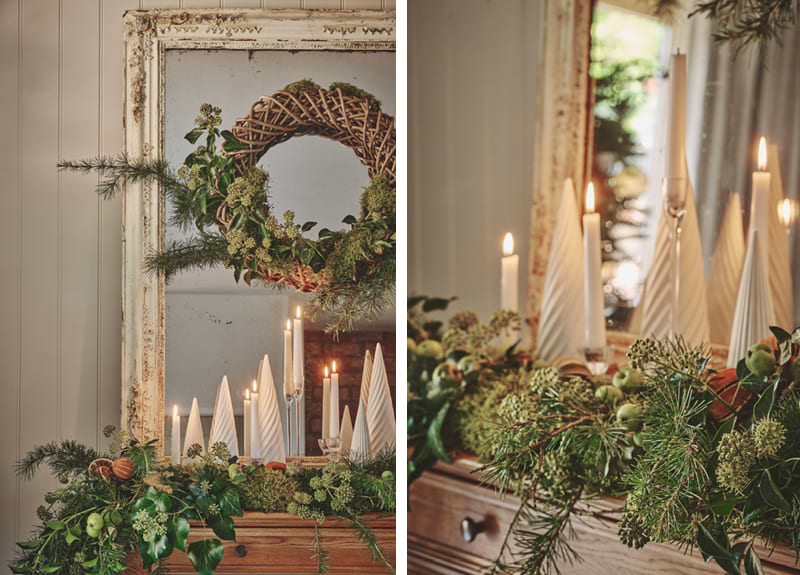
The last thing you want is a garland that looks too uniform. Go with the flow, don’t overthink and have fun! Embrace the natural contours of your foliage – if something flicks nicely in one direction let that feature – don’t try and manipulate the rest of your branches/sprigs to do the same – contrast is key to creating a look that looks wonderfully natural. I haven’t used them this year, but I must give a special shout out to willow branches – their light colour means that they lend themselves wonderfully well to festive displays; they are a lovely addition if you can incorporate them. Once your mantel garland is built, it’s time to consider what might sit behind it. If you’ve space – always leave a gap behind foliage so you can create a decorative feature. Less is more – keep it simple. This year I’ve gone with candle sticks interspersed with fabulous porcelain Airdrie Trees, which I’ve displayed at different heights (on glass ramakins I found lurking in my kitchen cupboard) to add visual interest, much like you’d find in a real forest. They’re also available in three different sizes which makes them excellent for creating an interesting visual. Sitting them in front of a mirror creates further depth, which really enhances the sense of festive magic.
With that all complete – you’ll need a finishing touch – and I can’t recommend my favourite festive go-to - the humble herb Rosemary - enough! Disperse a few sprigs of this trusty kitchen staple around your garland and everyone will relish its fragrance throughout the festive period; particularly ideal if your display is fireside, where those aromas will be enhanced.
Finally, any Christmas traditions you can’t live without?
Shareable Food. I can’t conceive of a Christmas that doesn’t involve the chance to nibble, whatever the time of day. Guests are encouraged to make themselves at home and I try to make them feel at ease as soon as they set foot over the threshold. I do this by setting out a whole array of ‘help yourself’ stations throughout my hosting space. Whether it’s walnuts in a wicker basket accompanied by crackers, a tray of clementines or crystal glass jars packed to the top with mints, I like to feature food that people can tuck into any time. That includes a tin of Quality Street – which I’m particularly partial to…! I’m also big on sharing platters because Christmas hosting can quickly turn into an experience that leaves you feeling like you were confined to the kitchen or never stopped changing bedsheets throughout the festive season. So, wherever possible, I try to look for ways that keep me well prepared for hosting and allow everyone to enjoy themselves – including me! Sharing platters offer a great opportunity for me to pop something simple into the oven, dish up on a serving board and then allow people to just graze as and when.
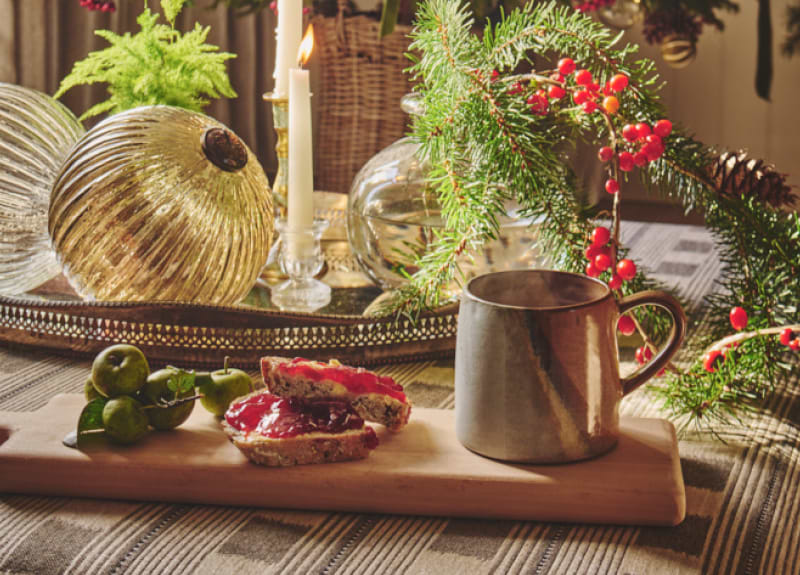
Festive Lighting. As we navigate the darkest days of the year, I have to think about how I’m going to light my cottage differently to cater for reduced natural light, so it really feels magical. It’s so tempting to go to town with every downlight in a living space when it’s gloomy outside. Instead, I like to go all-out on low lights. This isn’t necessarily about making more purchases – again it’s using what’s already around me. I’ll often go and invade a bedroom that won’t be occupied over the festive period and pinch a bedside lamp which I can then position downstairs to illuminate a normally overlooked nook. Lots of side lighting sources, plus flickering candles and the glint of reams of fairy lights are really what make Christmas the intimate time it needs to be for me. I can curl up and really embrace the celebrations once I’ve created a cosy ambience.
Hydrangeas on my Christmas tree. This one’s an absolute necessity - and so worth doing! If you’re not already venturing into the garden during September and cutting back your red and green hydrangeas (avoid white – they don’t have the same glorious effect) then store this idea for next year! Cut your hydrangeas when they’re definitely dry, not wet. Remove all the leaves and separate the heads into small clusters rather than letting them remain in a huge formation. Tie these small clusters together and hang them upside down by their stalks (which you should leave a decent length), ideally for at least 6 weeks. Once they’re beautifully dry and ready for displaying, they work wonderfully in a vase, or even better, adorning a Christmas tree. I use mine as fillers – arranging them in the gaps that appear between branches. There they sit in all their glory, disguising lighting, wires and your tree trunk. Hydrangeas are truly your secret weapon to a full, glorious Christmas tree design. Remember to keep a good bit of stalk attached to each head so that you can ensure that each piece can be easily angled into the right position. Pack them out and prepare to marvel at the overall look it has created – sustainably!
A new bauble a year. Every Christmas I treat myself to a new bauble. It fits in with the classic décor scheme that I’ve created over time and marks that particular year with something new that’s standalone as a piece yet blends really well with all of my other collected keepsakes. Last year I bought an oversize glass bauble that had etched detailing and a rustic top; this year’s purchase will probably be something along those lines too, but different! After lights, it’s all about the big bauble placement on a tree – and then I stagger the smaller designs in my collection to hang in between them.
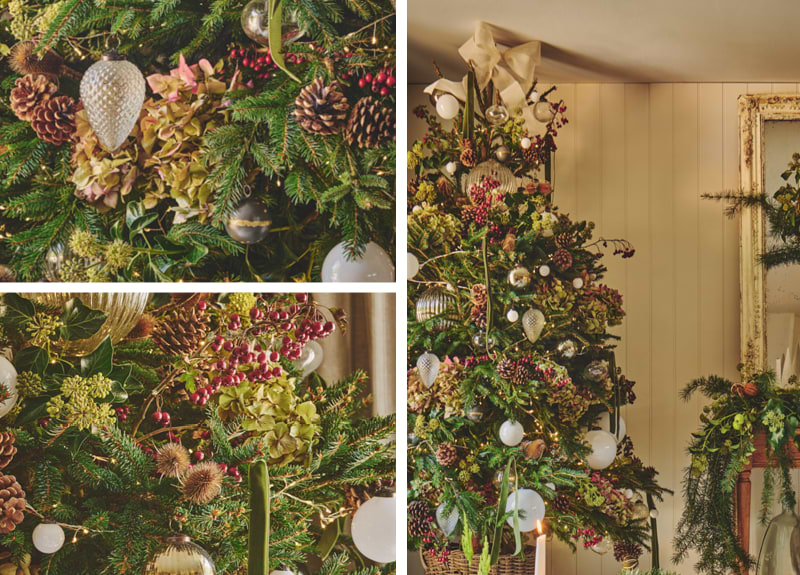
Having fun with tree toppers. When I was younger, you either had an angel or a star taking centre stage at the summit of your Christmas tree. These days, we’re all having more fun with toppers and my biggest mantra is to make it nice and big! I’m a firm fan of ribbons – and therefore a big bow is an irresistible option. I’ll let you into a secret; my favourite material to achieve this is actually Plaster Board Joining Tape, which you can run wire through to stop it being floppy! Get hold of some of that – or alternatively a roll of wired ribbon – and create a bow topper that will sit pretty for the duration. I also use my tape to create a cascading decoration that runs the length of my tree. I achieve this by wrapping it around a rolling pin and proceeding to unfurl it, so it forms a fluid placement over the branches, working along the different layers of my Christmas tree until the ribbon runs out. When you’ve exhausted it, tuck in the very end of the roll so it’s not visible and just slips into the evergreen branch it’s sitting on, discreetly. Job done!


